

Comfort3D Nightguards

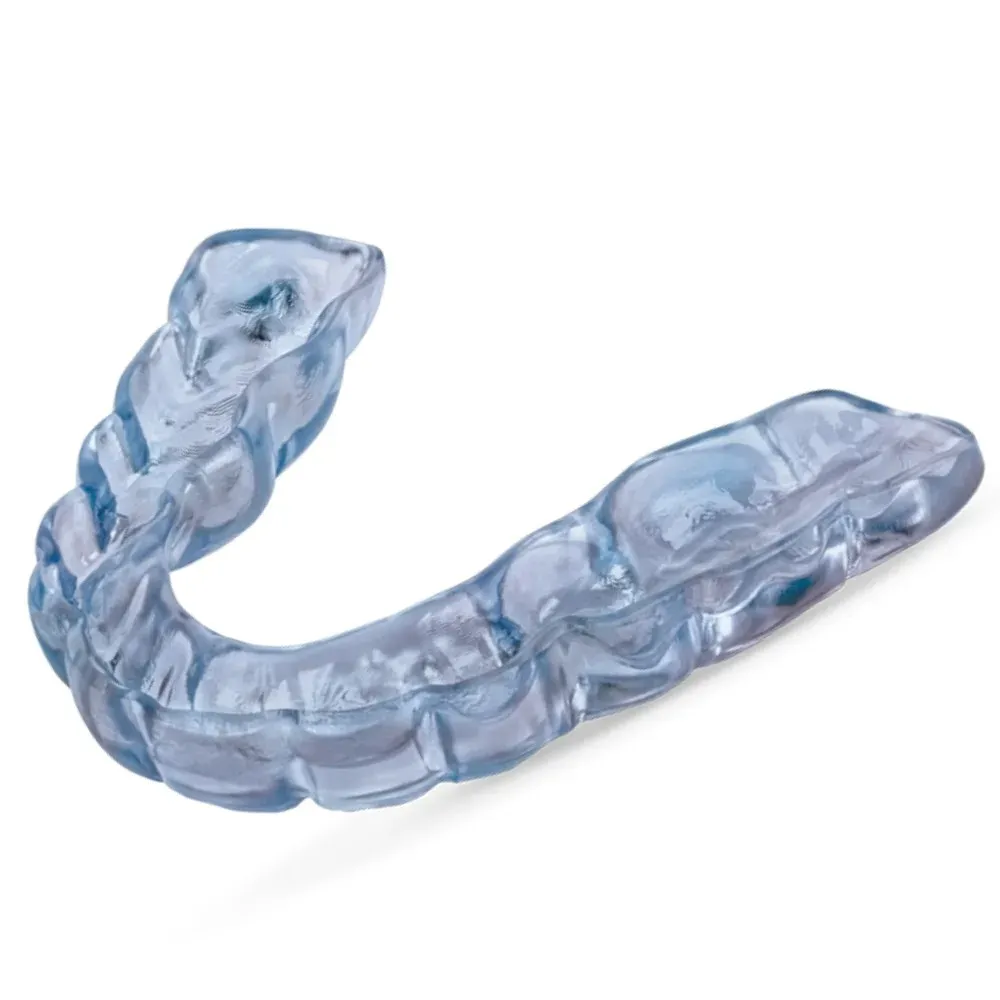
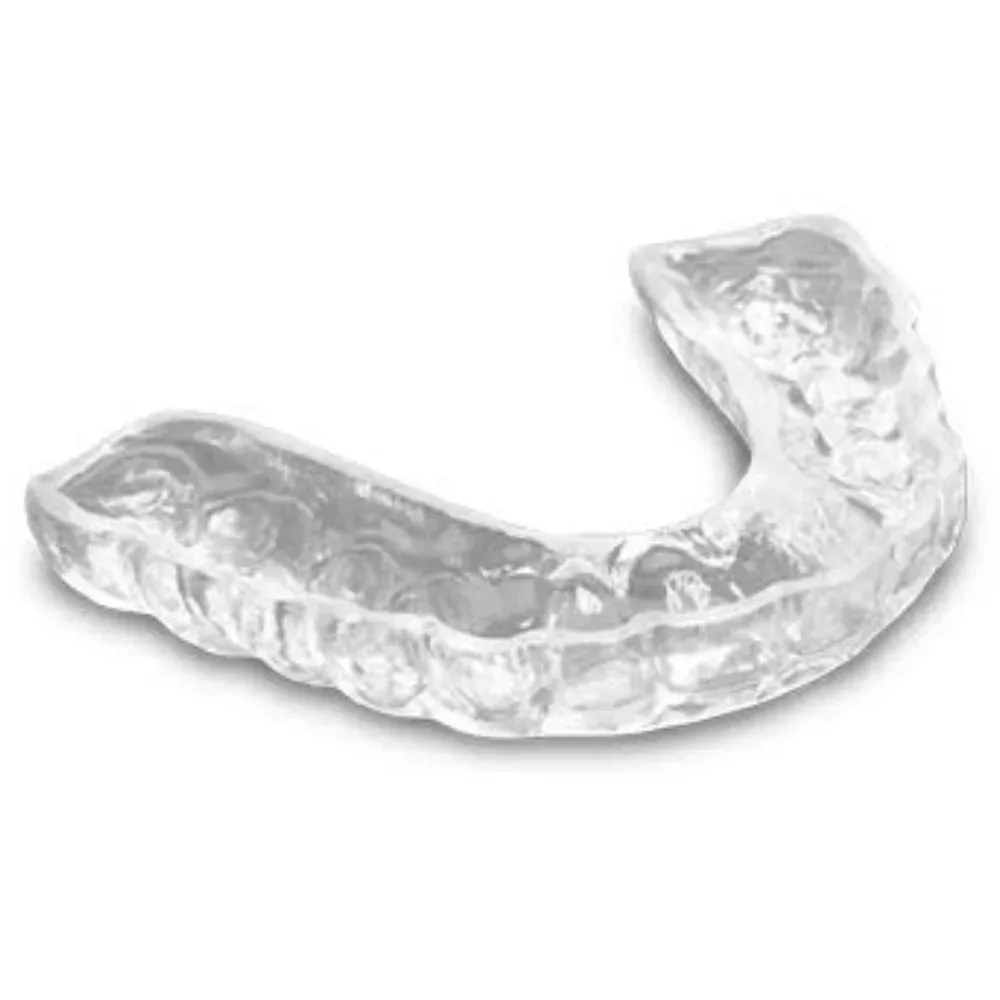
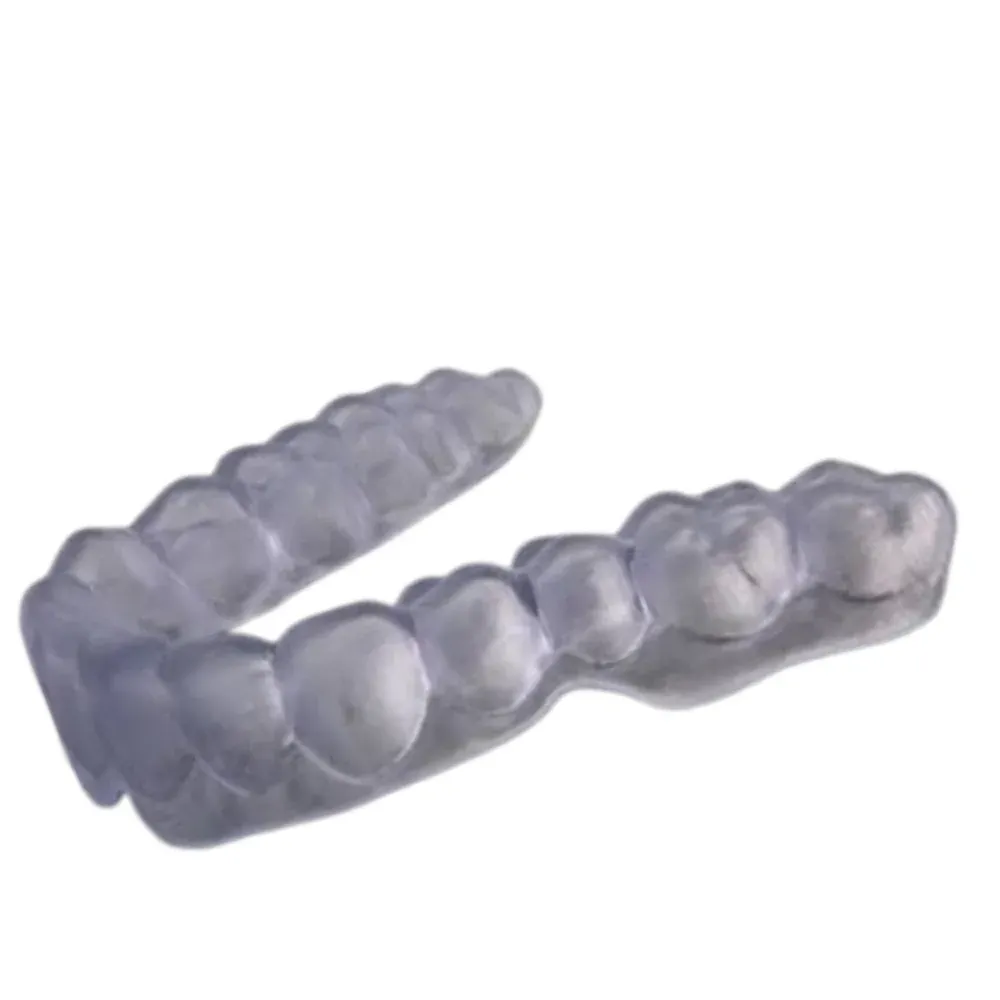
3D printed nightguards for practices that would rather specify an appliance than inherit one. Wall thickness is a number in the design; the occlusion is drawn against the opposing arch.

Thermoforming gives you the shape a heated sheet happens to take as it collapses over a model. Printing gives you the shape somebody drew — thickness held across the arch, contacts designed against the opposing dentition.

Jahn De Khudikine, Founder · Universal Dental Lab
Jahn De Khudikine Founder · Universal Dental Lab

Why send it here

A printed guard that lifts is a return visit. We design the occlusion before the print runs.

A practice's schedule lives or dies by the lab — I've watched one late case push back a whole day of chair time.

So I still know the cases moving through this lab, and I answer for how each one is made. Send a case here and it doesn't drop into a queue — it lands with me and one technician who carries it start to finish.

Start a case
Designed, not formed
Wall thickness is a value you set and hold across the arch Occlusion drawn against the opposing arch in the digital articulation
Washed + post-cured
Post-cure is a controlled production step, not a finishing touch Supports off, margins smoothed, contacts verified before it ships
Your technician
One person holds your case Reach them directly — no call-center queue
Free scanner
3Shape TRIOS 6 for partners Go fully digital at no cost

Printed vs. Formed

Printed, Thermoformed, or a Rigid Splint?

Two of these three are printed, so printing is not the thing to choose on. What separates them is the job the appliance has to do — we make all three.

Printed full-coverage occlusal guard on the master model
Comfort3D Nightguards You are here
Dual-laminate guard, soft inner layer against the teeth
Comfort H/S Nightguards
Printed rigid therapeutic splint on the articulated model
KeySplint
What it is for Protective guard for routine bruxism Nighttime protection where a rigid guard will not stay seated; the hard outer shell still holds a chairside adjustment Therapeutic rigidity: splint therapy, deprogramming, TMD
How the shape is decided Drawn in CAD, then printed Formed over a model, adjusted afterward Also CAD-designed and printed
Thickness control A number you set, held across the arch Set by the sheet gauge, then thinned where the sheet stretched — a range, not a number Designed, but specified for a load-bearing splint

Comfort/softness against the teeth is the Comfort H/S page; therapeutic rigidity for splint therapy and TMD is KeySplint. Confirm the appliance and the occlusal scheme with the lab before you prescribe.

Appliance
Full-coverage occlusal guard, printed
Wall thickness
A parameter you set, held across the arch
Occlusal scheme
Designed to your prescription
Turnaround
Quoted per case at intake
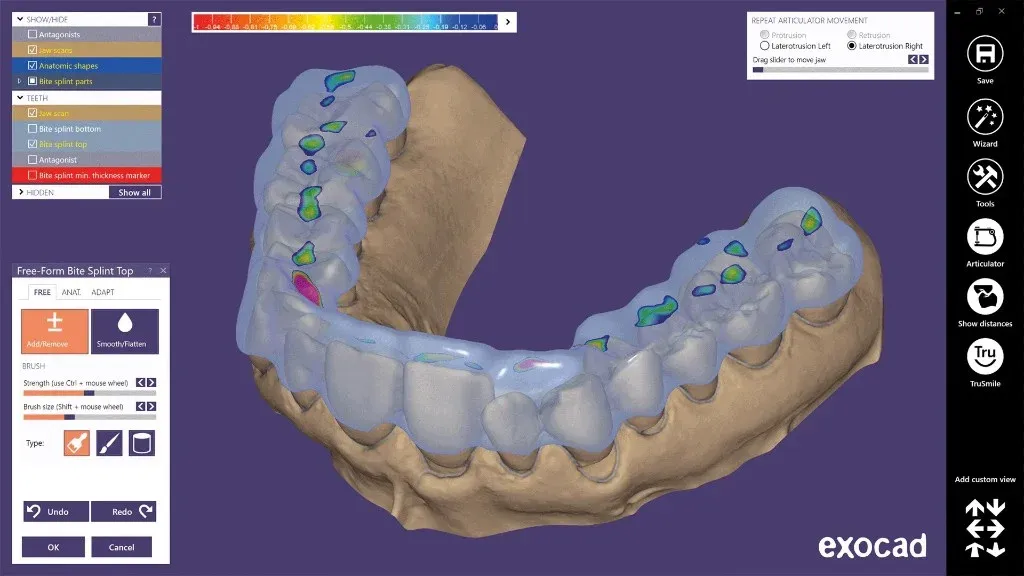
A Comfort3D guard being designed in CAD against the scanned opposing arch

Start Here

A Comfort3D Nightguard Is Designed, Not Formed

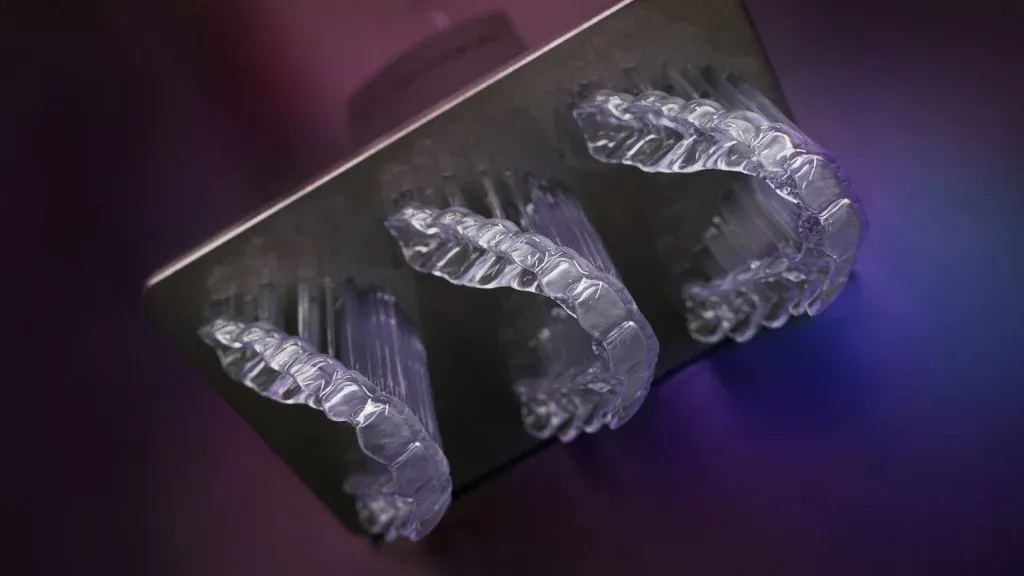
Comfort3D nightguards are 3D printed nightguards: your scan goes into CAD, the appliance is designed against the opposing arch, and the guard is printed from that design. Nothing is pulled over stone. That is the practical difference between digital nightguards and thermoformed ones — two things a thermoformed guard leaves to chance become things you write on the RX.

Thermoforming gives you the shape a heated sheet happens to take as it collapses over a model. Printing gives you the shape somebody drew.

  • Wall thickness stops being an accident: On a thermoformed guard it is whatever survived the stretch — thin over the cusps, thick in the fossae, different on every appliance. In a printed design it is a value you set and hold across the arch.

  • The occlusion is drawn, not hunted for: Contacts exist because a technician placed them against your opposing arch, not because a bur found them afterward.
Learn more
A printed guard in the post-cure unit before finishing

Production

Design, Print, Wash, Post-Cure, Finish

Five stages, and the fourth is the one most likely to get skimped. Straight off the build plate an appliance is soft, tacky and half-polymerized: it still has to be washed free of uncured resin and brought up to a proper cure in a controlled unit.

Which is why printing and curing is part of the product, not a footnote to it.

  • Design and print: Built in CAD against the scanned opposing arch, then nested with supports placed to keep the occlusal surface clear.

  • Wash and post-cure: Uncured resin off the surface and the intaglio, then a controlled production cure — not an afterthought.

  • Finish: Supports off, margins smoothed, surface polished, contacts verified.

Learn more

Before you send

On a printed case, what you send is what gets designed. The scan and the bite decide the appliance, so a flaw in either is one we build to rather than one a technician quietly corrects at the bench.

Fit for Purpose

Cases That Benefit From a Designed Guard

Indicated for

  • Routine nocturnal bruxism, where a hard full-coverage guard is already the plan
  • A fully digital workflow: scan in, appliance out, no impression and no stone
  • Practices that want the same appliance specified the same way from one case to the next
  • Cases where the occlusal scheme should be designed in, not ground in chairside

Consider an alternative when

  • The patient will not tolerate a hard surface against the teeth. A dual laminate puts a soft layer there
  • You are running splint therapy or managing TMD. That calls for a rigid therapeutic splint
  • The bite was never recorded, or was taken in a position you did not intend
  • The scan has drag or a missing distal. Printing reproduces that flaw rather than smoothing it

Design Parameters

Comfort3D Nightguard Specifications

What is a design parameter, what is your prescription, and what we need to start.

How a printed occlusal guard is specified and produced.
Appliance Full-coverage occlusal guard, designed in CAD and 3D printed. No sheet, no stone, no thermoforming
Wall thickness A parameter in the design, held across the arch. Send a target if your protocol specifies one; otherwise we design to a working thickness and tell you what we used
Occlusal scheme Built to your prescription: flat plane, defined centric stops, canine guidance. Contacts are placed against the opposing arch in the digital articulation
Material A resin intended for occlusal appliances. If your protocol requires a named material, tell us at intake
Records needed Scans of both arches and a bite registration
Post-processing Washed, then post-cured in a controlled unit before finishing. Cure is a production step, not cleanup
Design file The appliance exists as a design, not only as a part. If a reprint comes up, ask us what your case would need
Chairside adjustment Standard acrylic burs and polishers. Bring it back to a polish afterward. Cut resin left rough picks up stain and biofilm fast
Turnaround Quoted per case at intake

Thickness and the occlusal scheme are clinical decisions. Put them on the RX; where they are left blank, we design to a working thickness for the case and tell you what we used.

Records

Sending a Comfort3D Case

On a printed case, what you send is what gets designed. The scan and the bite decide the appliance, so a flaw in either is a flaw we build to rather than one a technician quietly corrects at the bench.

Files and instructions we need:

  • STL of both arches — iTero, 3Shape, Medit, or an impression we digitize
  • Bite registration, in the position you want the appliance built to
  • Target wall thickness, if your protocol specifies one
  • The occlusal scheme: flat plane, centric stops, canine guidance
  • Any note on parafunction severity, existing restorations or recent ortho

A missing distal, a drag across the occlusal table, a bite you did not mean to capture: printing does not forgive a bad record the way a technician with a bur sometimes can. All of it is cheap to fix at intake and expensive at delivery, which is why a technician opens the files before design starts. Upload the scan, or open an account if this is your first case.

Start a case

Send one case. Keep the scanner.

Open a partner account and your first case moves with a shade record and our remake guarantee — if a unit does not seat, we redo it at no charge.

  • Free 3Shape TRIOS 6 scanner for active partners
  • Under-2% remake rate — remakes at no charge
  • One named technician you reach directly — no call center

Prefer to talk? +1 747-268-0808

No call center — you hear back from the lab, not a bot.

Design & Print

Common Questions About Printed Nightguards

Scans of both arches and a bite registration taken in the position you want the guard built to — not assumed maximum intercuspation unless that is what you prescribed. Add a target wall thickness and the occlusal scheme where your protocol specifies them. Everything else is derived from those files. Unsure a scan is clean enough? Send it and ask.

How to send a file

Accuracy is not quite the right word for what changes. A thermoformed guard reproduces its model reasonably well, but a heated sheet rounds off the detail it copies — deep fossae and interproximal form come out softened — and it shrinks as it cools. More to the point: its thickness is a byproduct of how the sheet stretched, and its occlusal surface is the one a technician refined against the opposing model afterward, rather than one that was designed in advance. In a printed guard, thickness is a value in the design and the contacts were drawn against the opposing arch. The gain is control and repeatability — not raw fit.

It fails, in ways that are easy to miss at delivery. An under-cured appliance is softer than it should be, less dimensionally stable, and carries residual uncured monomer at the surface. It can seat acceptably on the day and distort or craze later. Wash and post-cure are manufacturing, not finishing touches, which is the best reason to care where a guard is printed.

Name the figure your protocol uses and we design to it. If your RX leaves it blank we design to a working thickness for the case and tell you what we used, rather than picking one silently. Where interocclusal clearance is genuinely tight, say so at intake — that is exactly the situation a designed thickness exists for, and it is the wrong thing to discover at delivery.

Drag across the occlusal table, a missing distal, a margin lost in tissue — printing does not tidy any of that up, it reproduces it, so we ask for the file again rather than build the flaw into an appliance. That round trip is the schedule. We put a date on a printed case once the files are open, not before.

How to send a file

Kept as a design

The appliance exists as a design, not only as a part. If a reprint ever comes up for your case, ask us what it would need — the file is kept with the case.

Partner Offer

A Free Intraoral Scanner for Partner Practices

Partner with Universal Dental Lab and we place a 3Shape TRIOS 6 Wireless in your operatory — free for the length of our partnership. Scan the prep, send it in seconds, and skip impressions entirely.